How to do the Narrows in Winter

Personally, when my partner and I decided to hike the Narrows in January. My type A brain went into overdrive. Are we even physically fit enough? What do we bring? What do we wear? How do we keep ourselves dry? How do we rent gear? Will we get hypothermia?
In individually researching these questions and more, I couldn't find a good succinct post that gave me sufficient information. Hence, I look to answer all these questions and more in this post.
Preparation
1) Check the weather condition before you go.
- The Narrows can be prone to flash floods, which is dangerous as the water level can rise fast in places where there is no higher ground.
- Winter is also makes the water cold on account of the snow melt and the water tide to be high.
2) What to bring?
Rental Gear
- If you are hiking in the winter, you will need to rent some gear. There are many shops in Springdale that offer options but they can broadly be spilt into 1) Dry Bib Package & 2) Dry Suit Package.
- Both packages will offer the same set of items including neoprene socks, canyon shows and hiking poles. But they differ in the "main outfit".
- The Dry Suit provides much more full coverage but personally, we used the Dry Bib as we wanted more mobility.
Dry Bag
- I highly recommend one to pack some snacks, water bottles and to put any electronics.
- The outfits don't have waterproof pockets so if you are planning on bring any camera gear, the dry bag will come in handy.
- You can buy one at an outdoor camping store or you can rent one at any of the stores at Springdale, when picking up your rental gear. We rented one for about $12.
Clothes
- Whilst you will be wearing a dry bib or a dry suit as an outer layer, it is important to know that it won't keep you warm. The intent of the suit is simply to keep you dry.
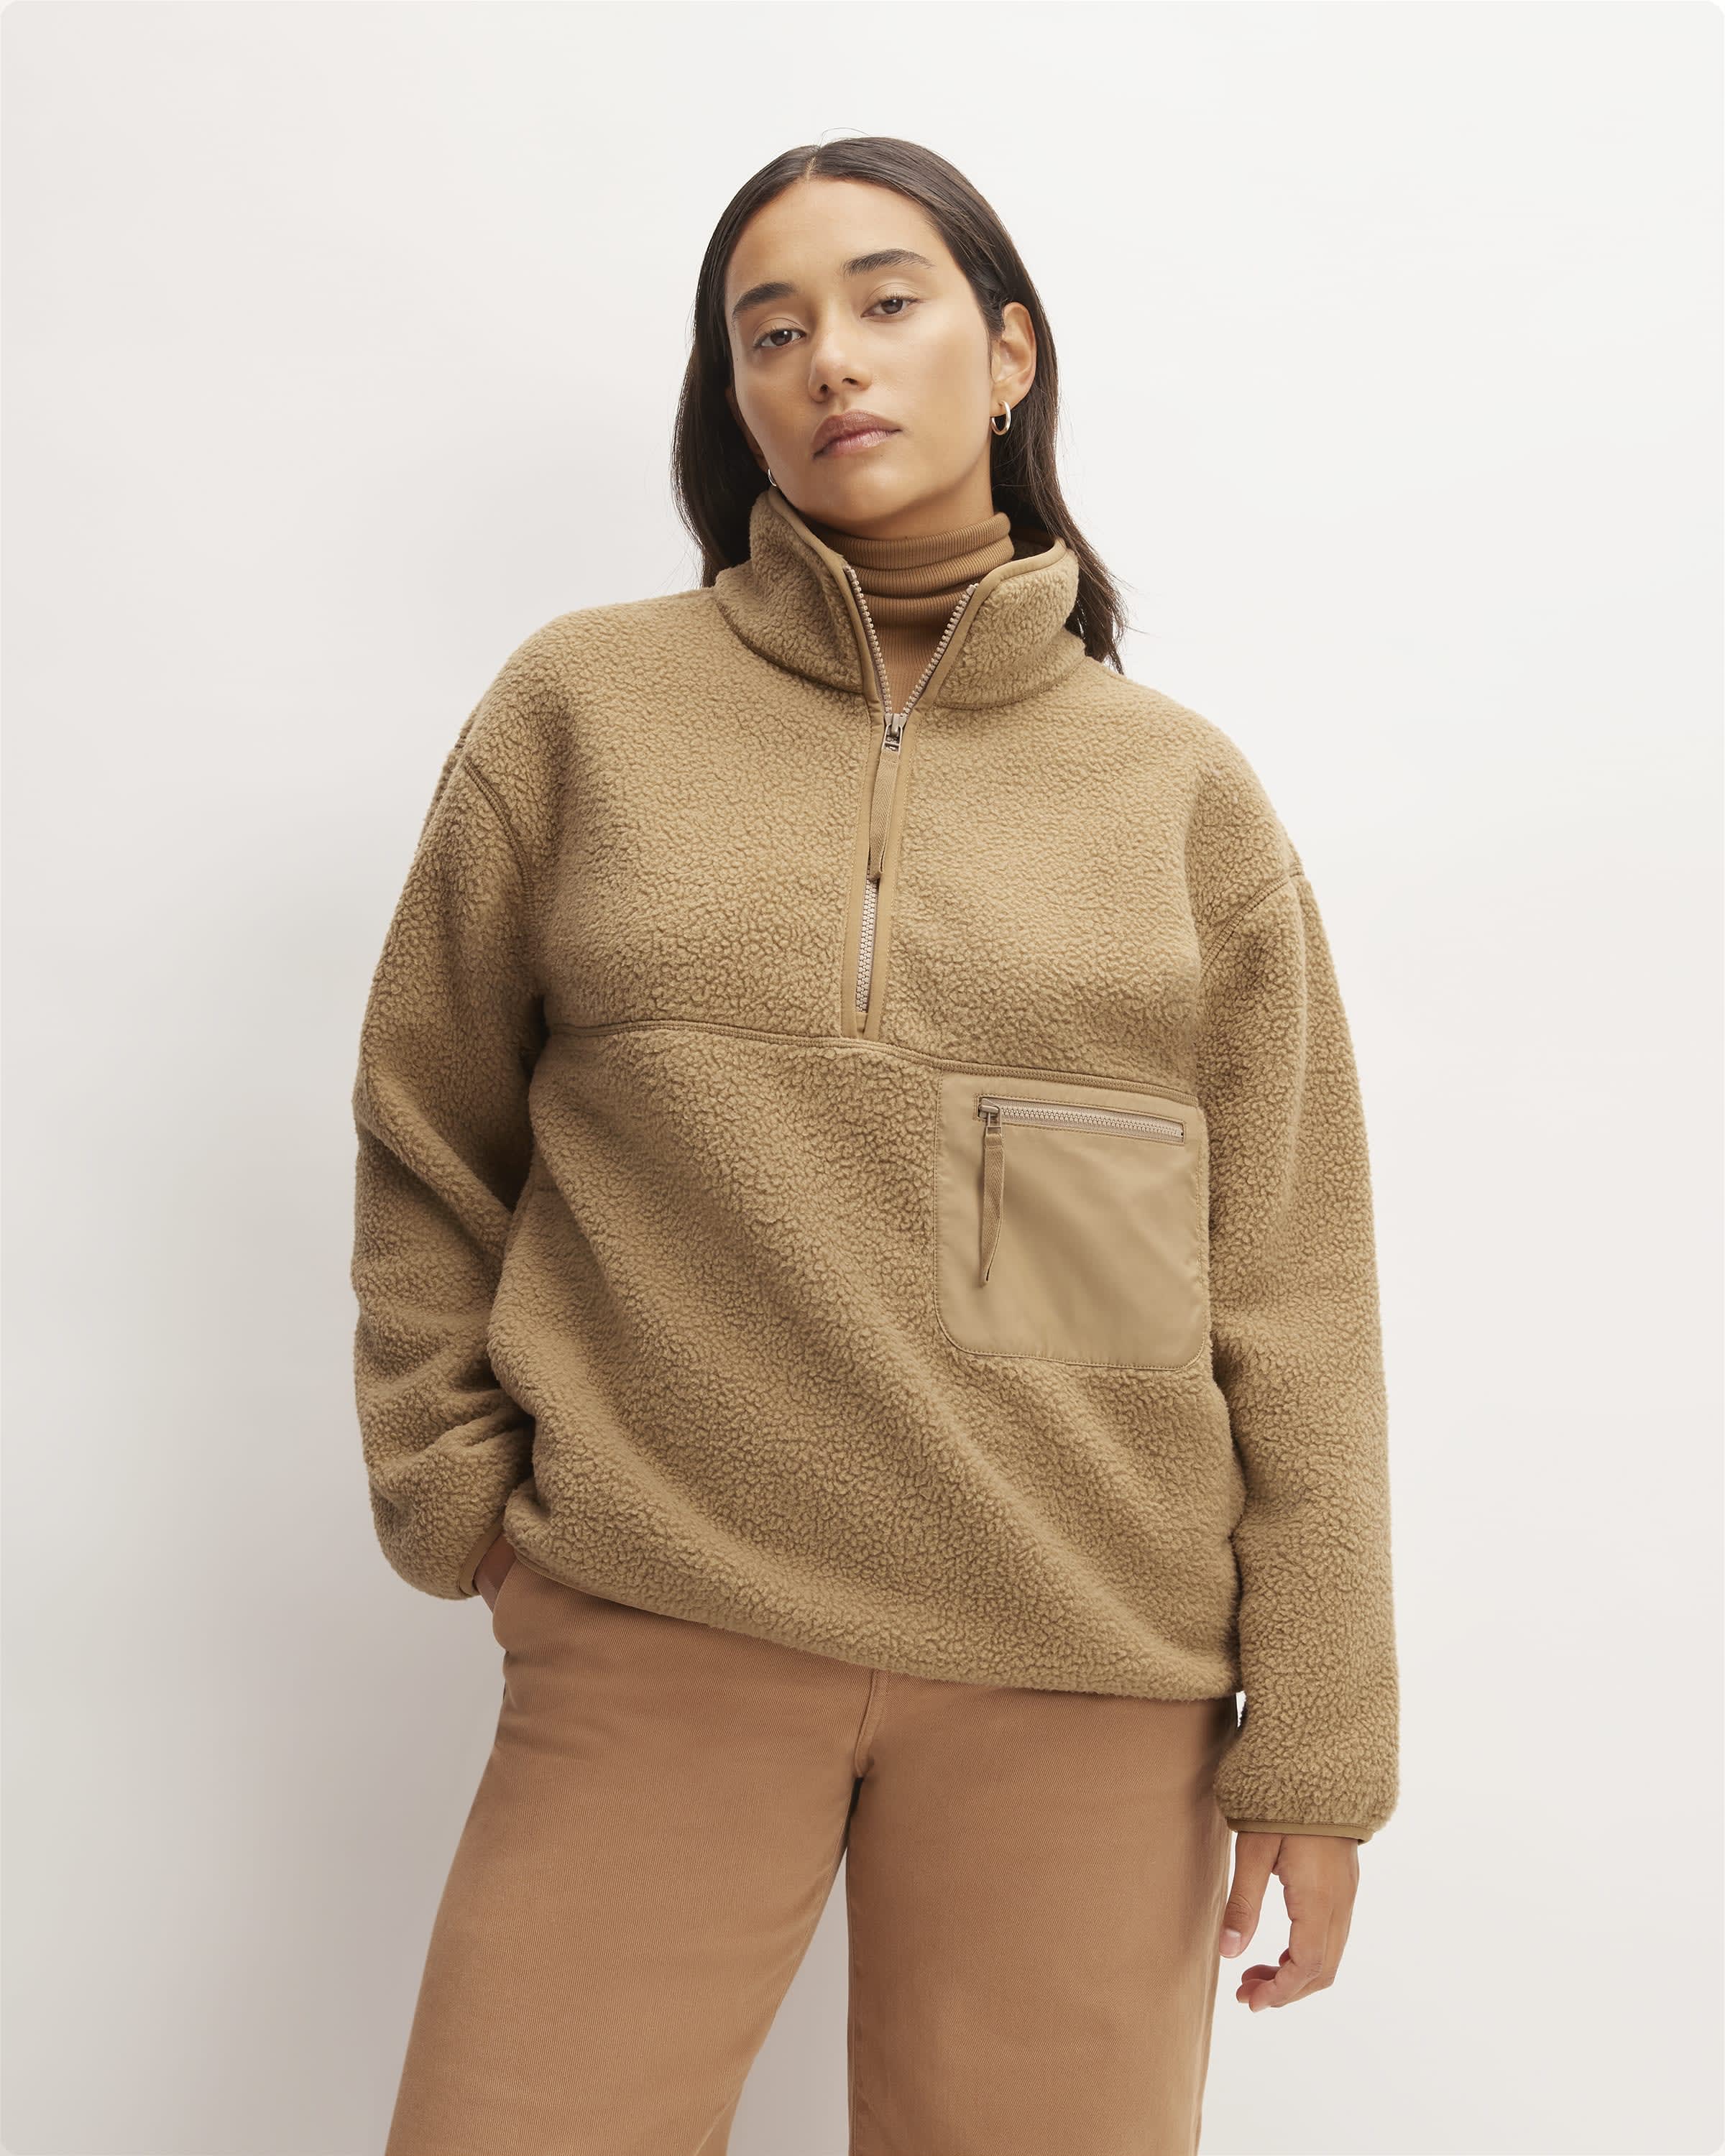
- Personally, for bottoms, I wore fleece lined legging and a pair of lightweight hiking pants over. For tops, I wore a set of heattech long sleeves, a fleece sweater and a down jacket. I also brought a scarf, beanie and waterproof gloves.
- Note: You won't need socks as you will get a pair of neoprene socks from the rental company. These socks won't keep your feet dry but they will keep you from getting hypothermia.
3) Which hike?
There are 2 main approaches to hike the narrows: 1) Top-Down and 2) Bottom-Up
- Top-Down is the more difficult hike and you will require a permit. It is 16 miles in total, starting from Chamberlain’s Ranch to Temple of Sinawava. It's only advised for experience hikers.
- Bottom-Up is the more popular trail that is 9.4 miles. You don't require a permit. You will start at Temple of Sinawava and make a u-turn at Big Springs to get back out.
- However, in taking the bottom-ups approach, most people only hike till Wall Street (7.5miles). This will give you the highlights of all the Narrows attractions but avoid the deepest water.
The Hike
1) Getting to the entrance.
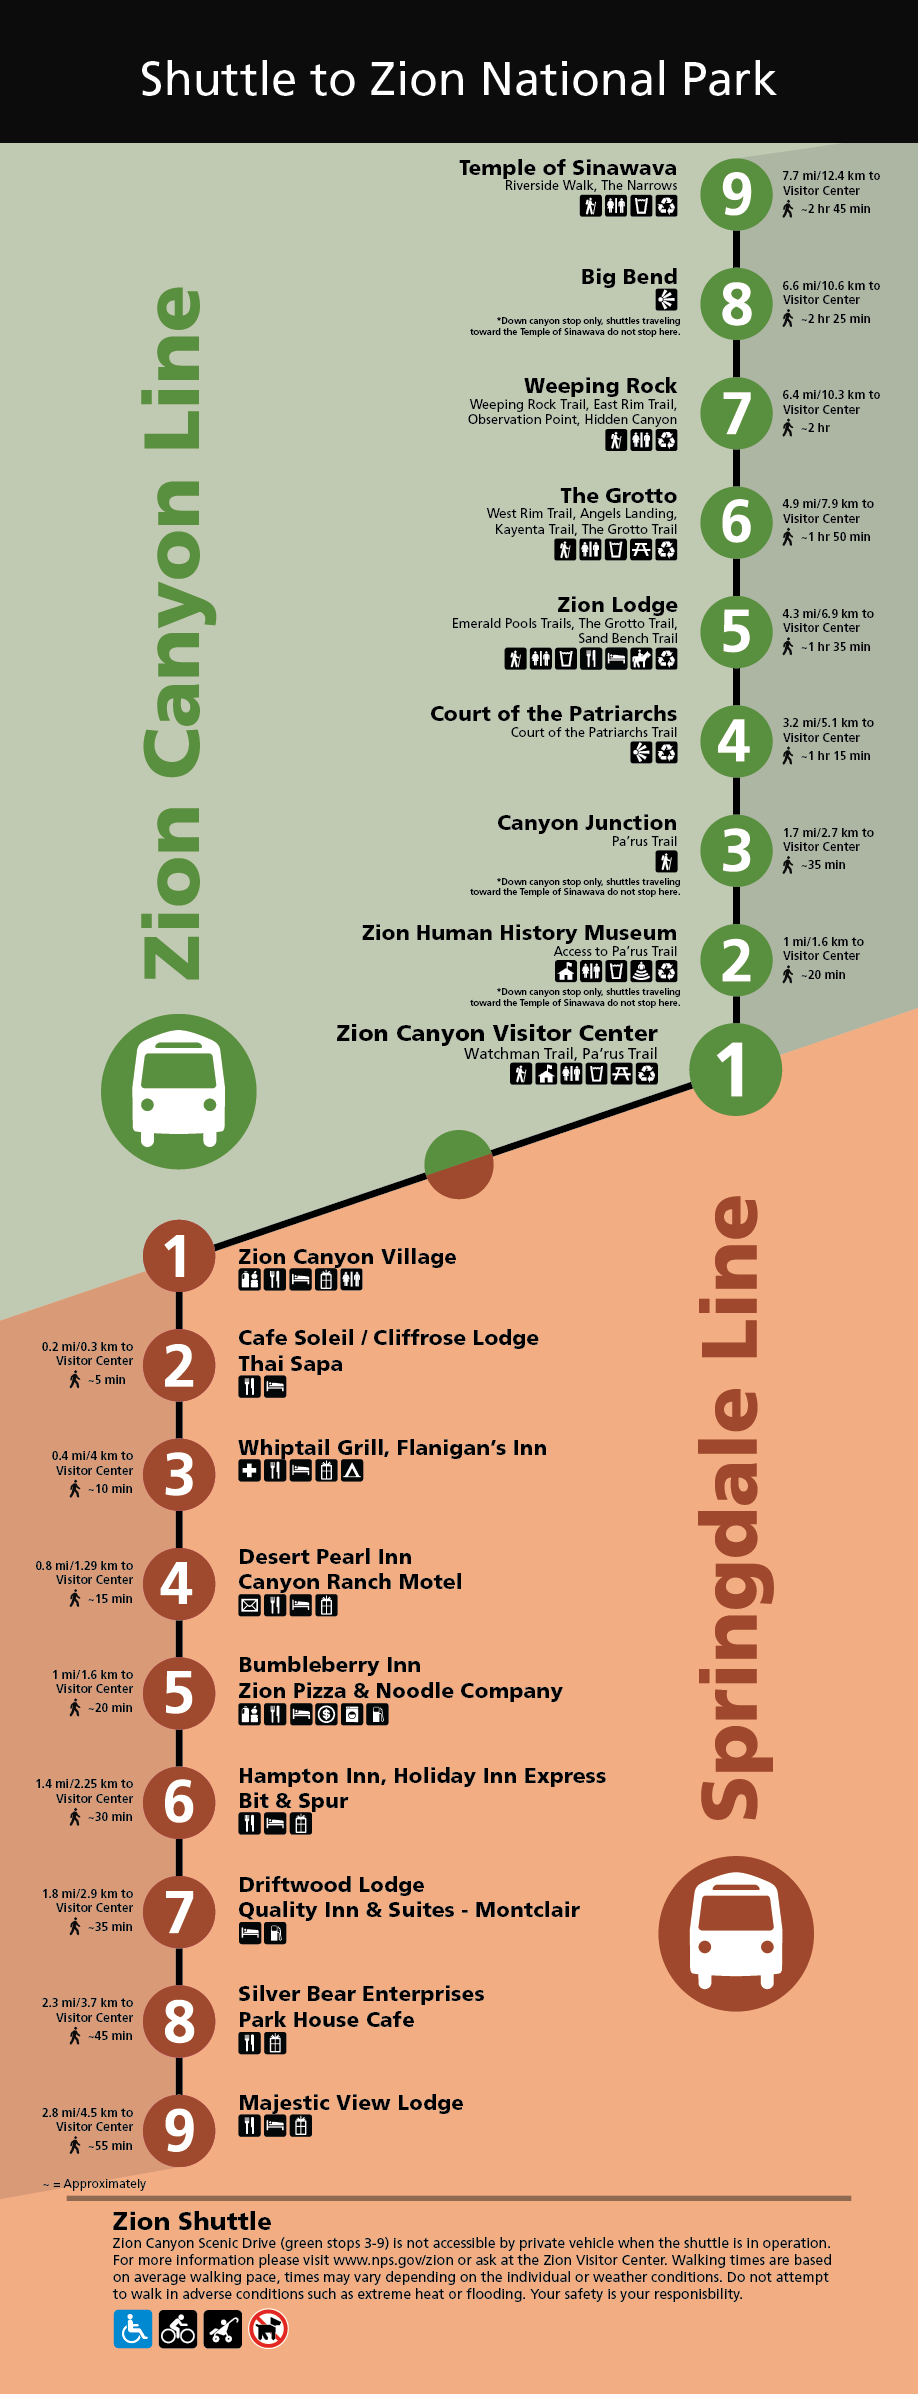
If you are doing this in the winter, chances are that you will be doing it from December to February, when the Zion Shuttle buses are not running.

2) What to expect during the hike?
The hike starts off with a 2mile hike on the Riverside Walk. This walk is on a paved road that will take you to the entrance of the Narrows. You don't need any special gear to do this hike but most people would have already geared up and left any important items in their car, at the parking lot.
The cold definitely shocks you when you enter the water. However, like a swimming pool, you slowly get used to it. In addition, as you hike through and are constantly moving, your body starts to warm up and as long you continue moving, the cold feels manageable.
Lastly, a word of caution, the water in the Virgin River contains Toxic Cyanobacteria and can be harmful if drunk. So it is definitely advisable to bring enough water!
The home for unique & authentic travel


